


I’ve worked with Powertraveller for over a decade, charging my gear on river, coastal and land-based journeys which enabled me to navigate safely and share stories from my adventures.
Recently they sent me some of their latest gear and I thought I’d write a review of each bit of kit. I’m starting with one of my favourites; the Solar Adventurer, a clamshell solar panel incorporating a Lithium Ion battery, USB output and a carry case.
If you’re heading off into the wild and need a way to charge your gear, one option is to harness the sun. I have a soft spot for the Solar Adventurer and if I’m ever unsure whether mains power will be available this will be one of the first items in my bag.
It’s a solid option as a charger for short journeys, and also as a backup supply for anything USB-powered: phone, gps, headtorch, portable toothbrush etc.
On longer trips I’ll have a few charging options but the Solar Adventurer, at the very least, is an emergency guarantee that I’ll be able to generate power remotely.
Charge from the battery and top up via via solar
Why solar?
There are plenty of options these days for portable power and, assuming sun isn’t going to be in short supply, packing a solar panel is a strong choice. I’ll be covering standalone batteries, power packs and solar panels later in this Powertraveller series but the £74 Solar Adventurer (and it’s new sibling of the same price - the Solar Adventurer II) is a simple lightweight option for USB-powered electronics. Coming in at 265g and sized at 170m x 96mm x 22.75mm when folded, it’s an easy slide into a bag.


So, how does it work?
This is pretty simple. Unzip the carry case and open up the panel. Make sure the panel is clean. Face it toward the sun and let it charge up.
Situated above the charging point is a 4 colour LED light indicator. This flashes red when the battery is at 0-25% capacity, orange for 25-50%, green for 50-75% and blue when the battery is 75-100% full.
When you need to charge your device, plug in the charging cable and the Solar Adventurer will automatically detect the plug-in and begin to charge.
Recommendation: Before leaving home give yourself a head start either charge through the mains (using charger provided) or sit it in the sun so the battery is full before heading off, then you won’t need to wait for an urgent charge.

The flashing LED light indicates how much charge is in the battery. Blue is 75%-100%
I make the most of the Solar Adventurer by leaving it out as I travel - attached to a backpack (using included Carabiner), atop panniers on my bike, or on a drybag on a SUP, canoe or kayak deck (this is best for flat water paddling, where splashes are limited and conditions aren’t too wet. The Solar Adventurer is rated IP65, good for dust and water from a nozzle, so as long as you avoid a complete dunking and ensure the dust cover is in properly, you’re good to go.)
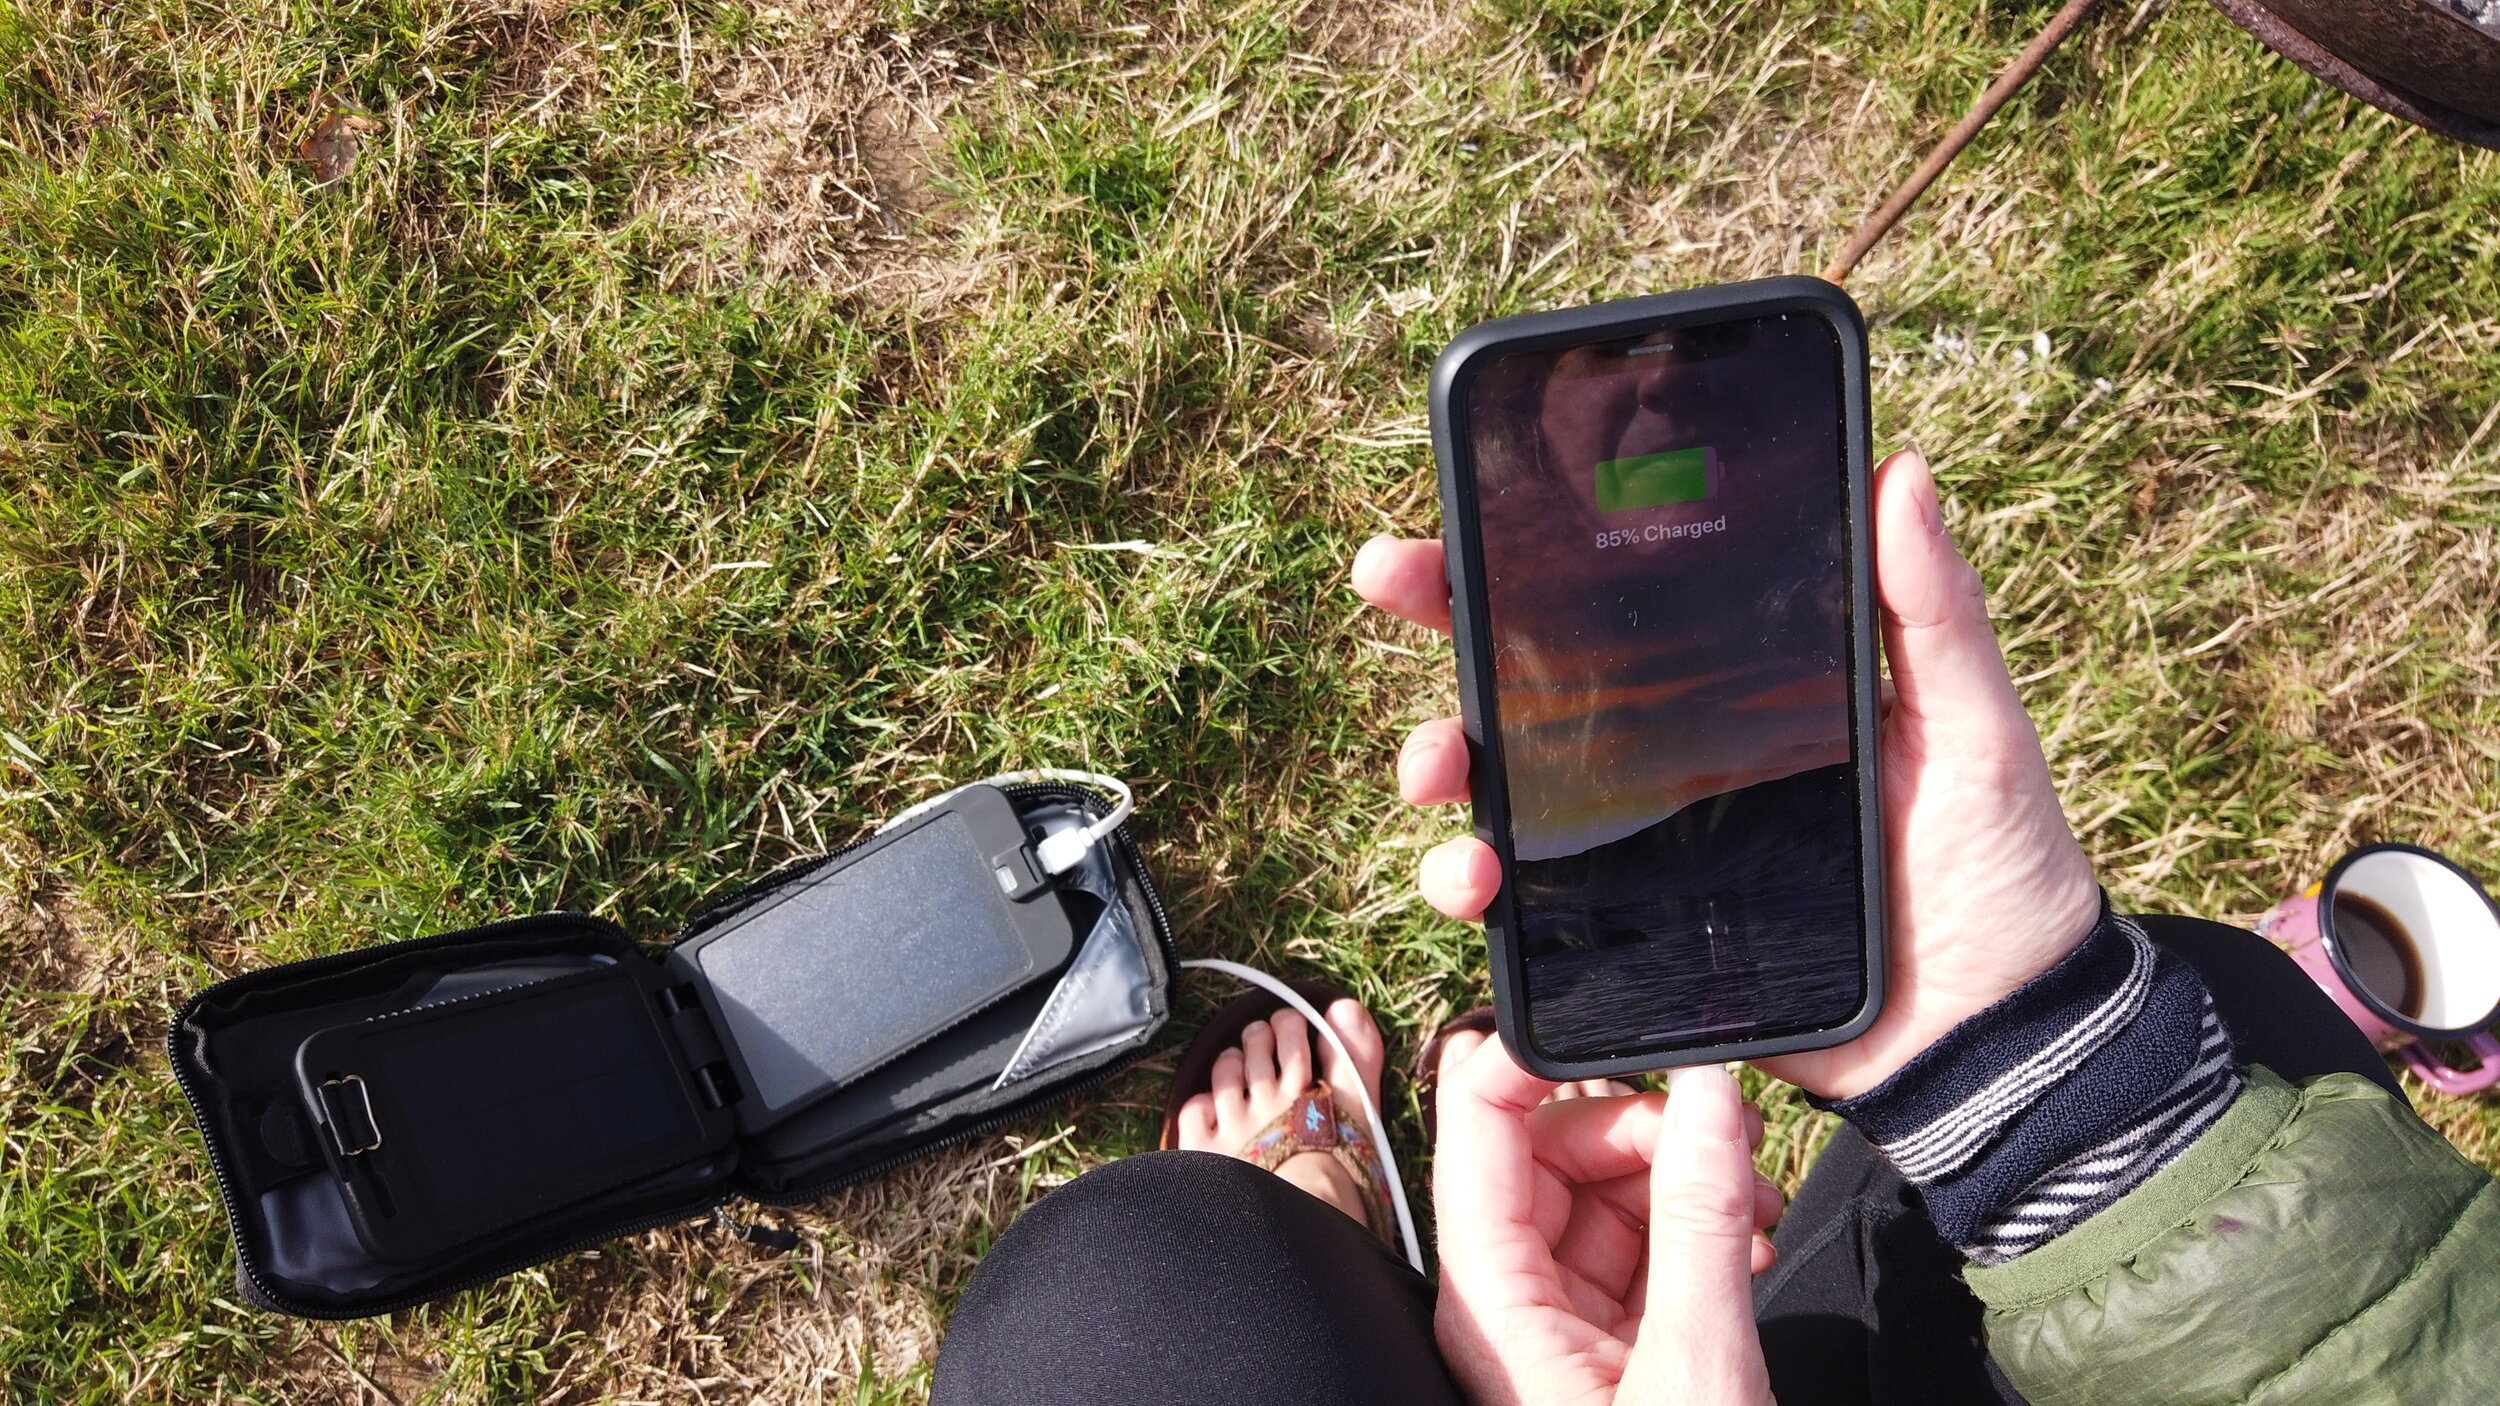
Then when I stop for a meal or a coffee, I religiously plug my phone in for a top-up. I film, take photos and navigate with my iPhone so its battery takes a beating.
Best for….
Short one or two day microadventurers
Additional back-up for a longer trip
Camping trips
Not ideal for…
Multi-day adventures with various items to power, and no additional charging options.
What will the Solar Adventurer charge?
The Solar Adventurer’s battery capacity is 3500mAh which Powertraveller suggest will charge a smartphone, GPS or headtorch 1 - 2 times, a Sat Phone once, an action camera 2 -3 times and a smartwatch up to 15 times.
I have an iPhone Xs with a battery capacity of 2,658 mAh which is on the low side for a smartphone, but most phones will have a battery in the region of 3,000 mAh so you’ll get at least one full charge from the Solar Adventure battery.
Even if the battery is flat on the Solar Adventurer you can still trickle charge your gadgets by plugging them in and leaving the panel in the sun. (Make sure you leave your gadget in the shade to avoid overheating)

EXPERIMENT
On a day when the weather app suggested full sunshine I sat the Solar Adventurer - with no battery charge - outside and every hour rotated the solar panel so it directly faced the sun.
It was up to the blue (minimum 75%) capacity after 8 hours of charging.
I then ran my iPhone Xs down to 1%, set to airplane mode and plugged it into to the Solar Adventurer’s USB charger. It took, 1 hour to reach 60% and 2 hours 20 to max out at 100%
What’s in the box?
As you’d expect from the new Powertraveller range, the Solar Adventurer comes in a tidy gift-friendly box, well designed and with a satisfying open.
The panel arrives in its zip up case, and also included is a charging cable, carabiner and instructions. (Instructions are also digitally downloadable on the Powertraveller website, or via the QR code provided.)

Charging in the Swiss Alps after a Via Ferrata that I didn’t really enjoy at all! Image by Dan Wildey
Summary
As I’ve mentioned, the Solar Adventurer has been a favourite of mine for years so I come to this review with experience and a little bias! I travel light so don’t weigh my pack down with anything I don’t need, so if an item makes the kit list it means it does the job.
As a backup charger or a main option for a weekend microadventure, I’ve never been let down. It’s super simple to plug and play and I wouldn’t underestimate the sheer satisfaction of charging your gear with free electricity.
The Powertraveller Solar Adventurer is lightweight, robust and doesn't take up much space. Plus, the zip-up cover is great for dusty or wet conditions. If you're thinking about using solar to charge your gear while travelling, this is the best panel to get started with. I don't leave home without it.
